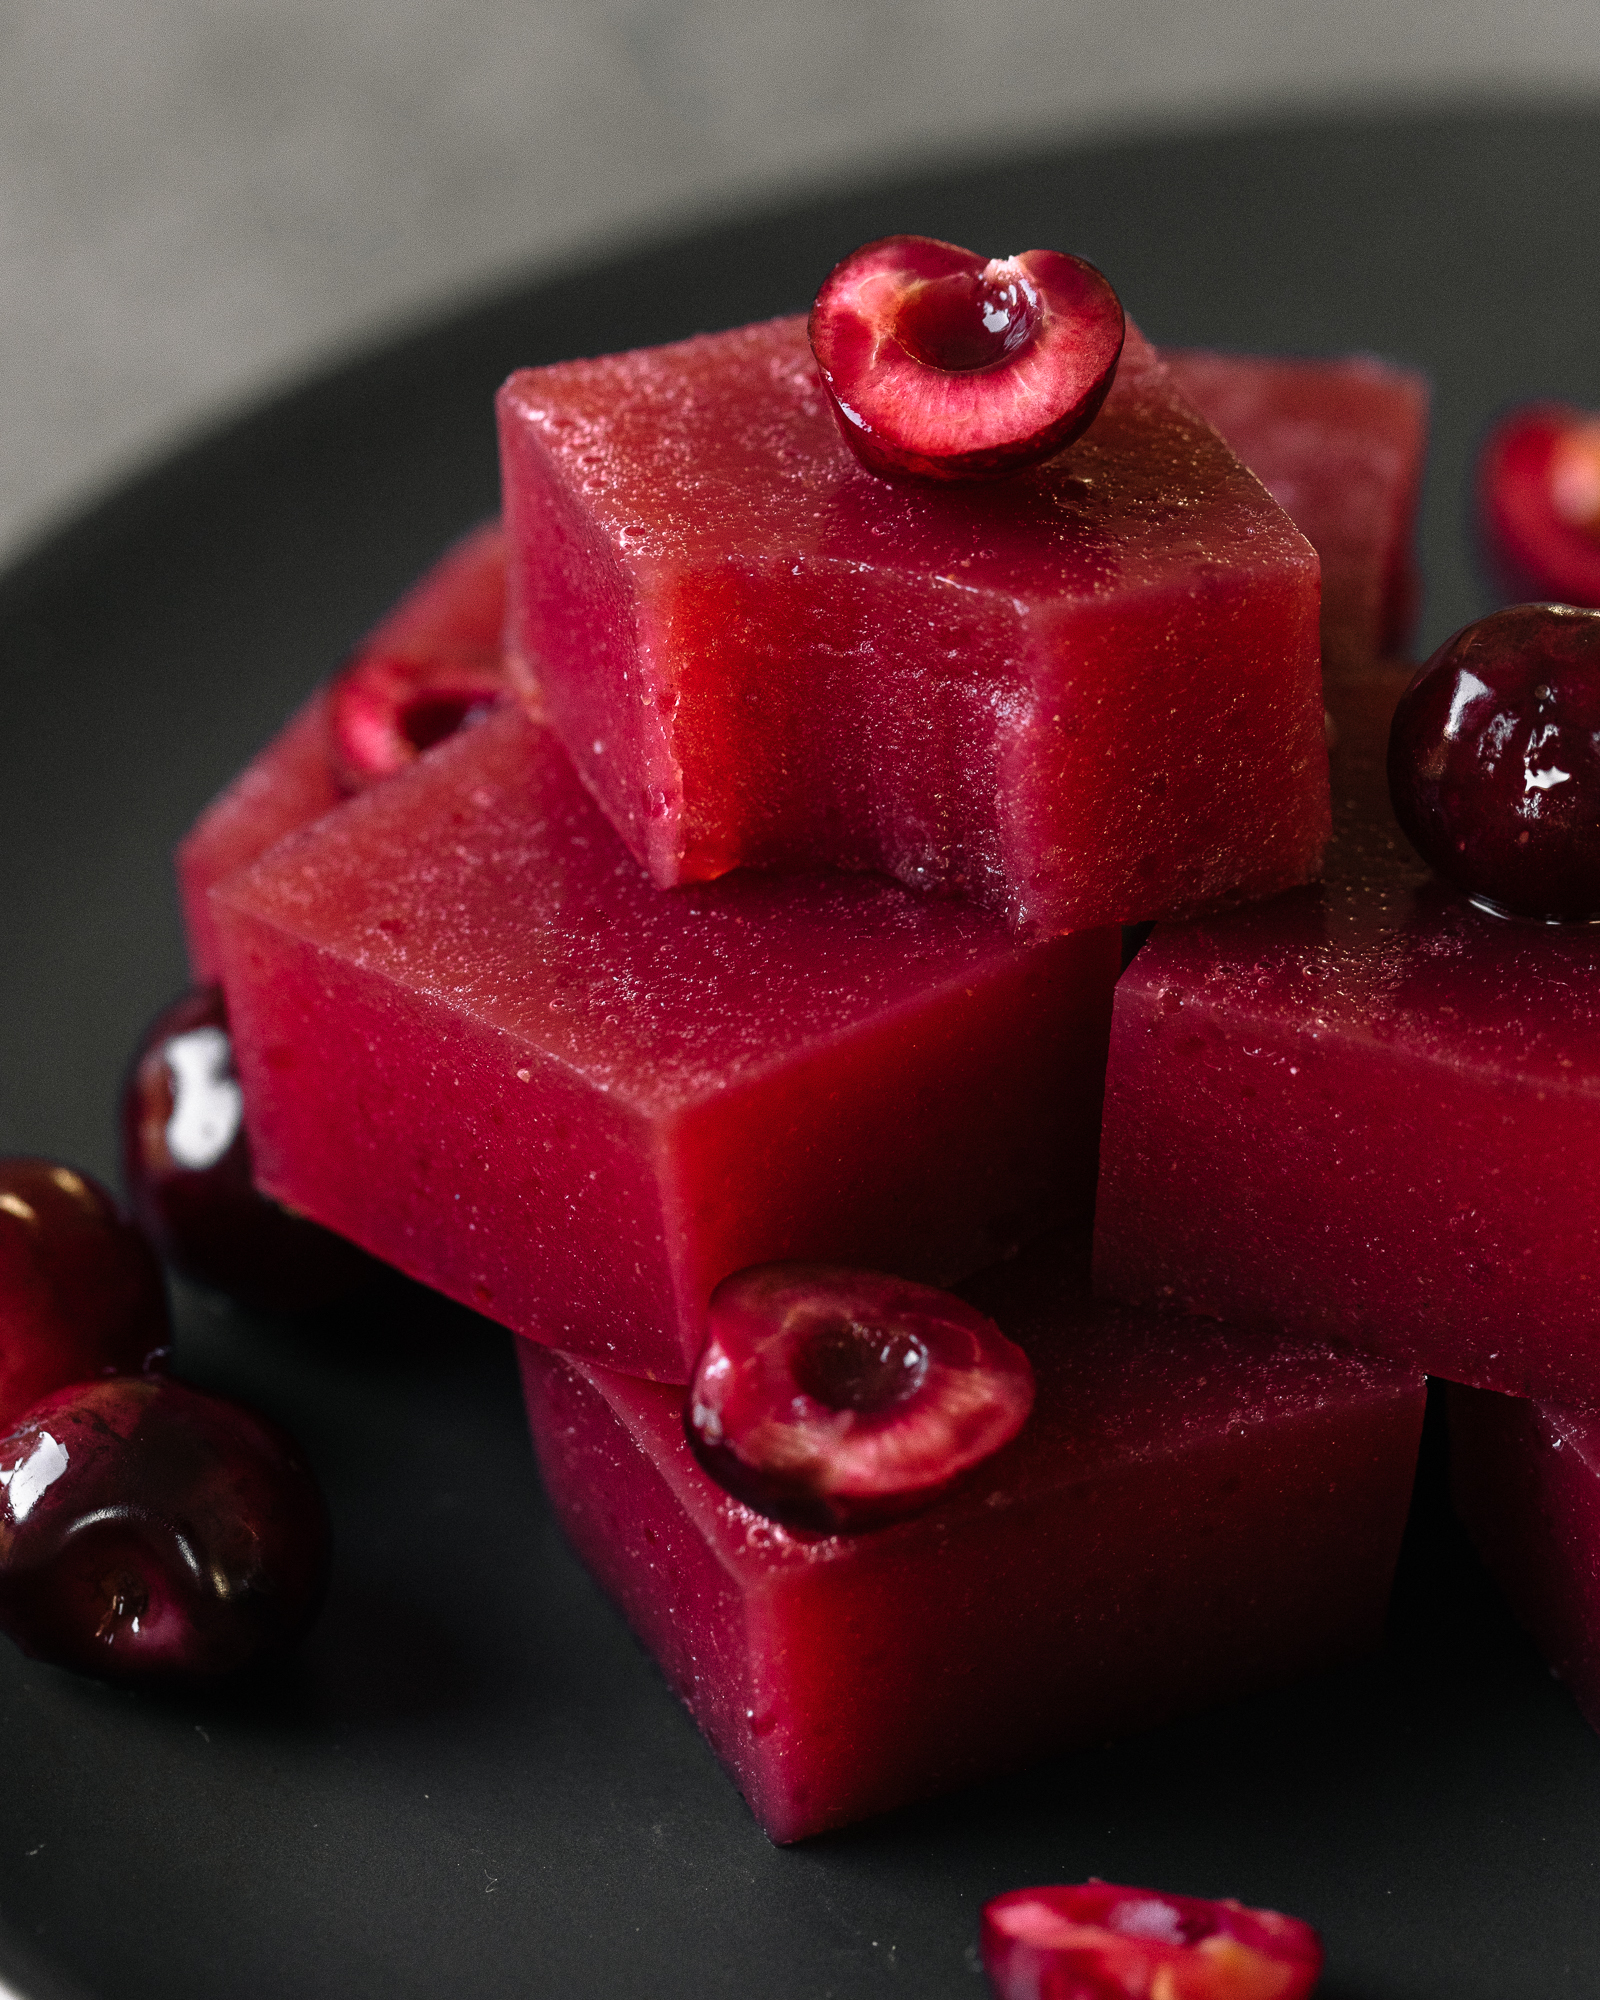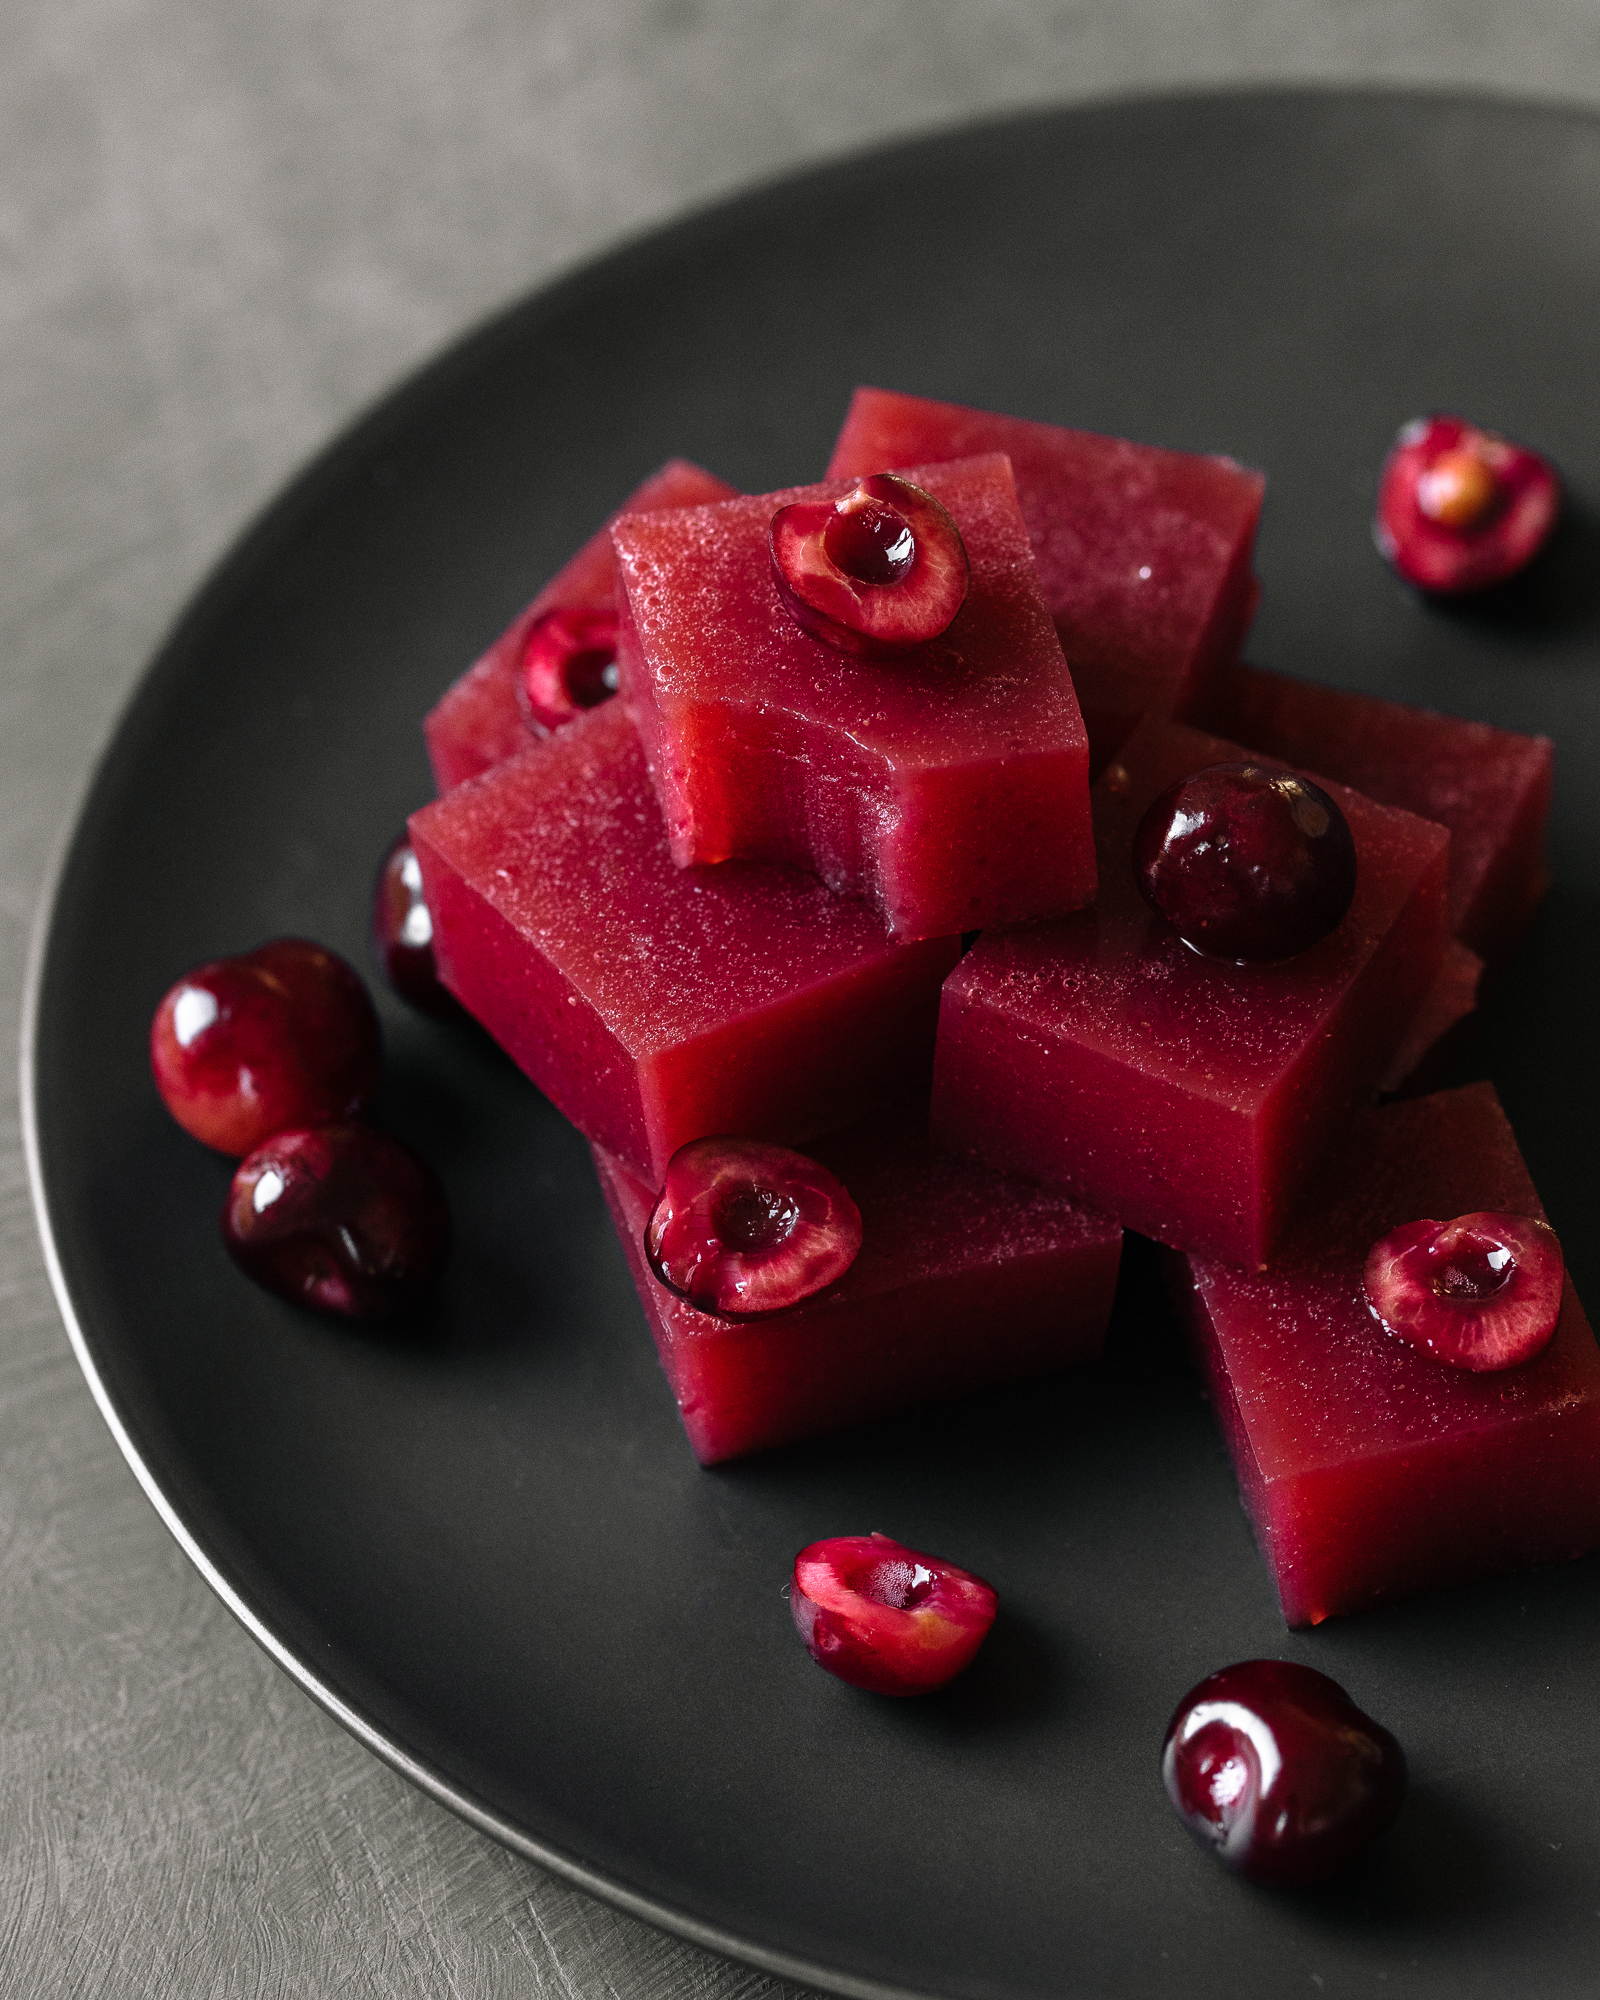


Cherry & Vanilla Jellies

These gut healing jellies are made with gelatin that will help to strengthen your skin, hair, bones and nails, improve your sleep, aid digestion, hormonal balance, reduce inflammation and boost your metabolism. You can read more about the health benefits and uses of gelatin HERE.
Cherries are one of my favourite summer fruits, they always remind me of the holidays. I love fermented cherries, they make such a delicious snack. I had an overabundance of fermented cherries so I decided to turn them into jellies. But they also taste beautiful in smoothies, smoothie bowls, ice-cream and with coconut yoghurt. Did you know that cherries are a well known “brain food” and can help to strengthen cognitive function by helping to improve memory, focus, and concentration and help to reduce brain fog. They’re also an excellent source of melatonin which is known to calm the nervous system, decrease irritability, ease headaches and promote a solid nights sleep with a balanced sleep-wake cycle.
How-to Ferment Cherries (this will remove the sugar)
Simply add the cherries to a clean glass jar and cover them with coconut water kefir. Close the lid tightly and allow them to ferment for 24 hours. When they’re ready you can start making the jelly.
Jelly Ingredients
1 heaped cup fermented cherries (seeds removed) (if you don’t have enough cherries you can use ripe strawberries to make up the amount too)
1 cup of the leftover cherry kefir liquid
1 tsp vanilla
2 Tbsp organic gelatin
3 Tbsp water
Liquid stevia to taste
Method
Blend the fermented cherries and cherry kefir on high until completely lump free.
Add the gelatin and 3 Tbsp of water to a small saucepan and mix together until combined. Allow the gelatin to bloom and thicken.
Now gently heat the bloomed gelatin on a low heat until completely dissolved then remove it from the heat.
Add all the remaining ingredients to the saucepan and the liquid stevia to taste. Stir until combined.
Pour into a lined container and place in the fridge to set.
Once it’s set, slice into squares and enjoy.